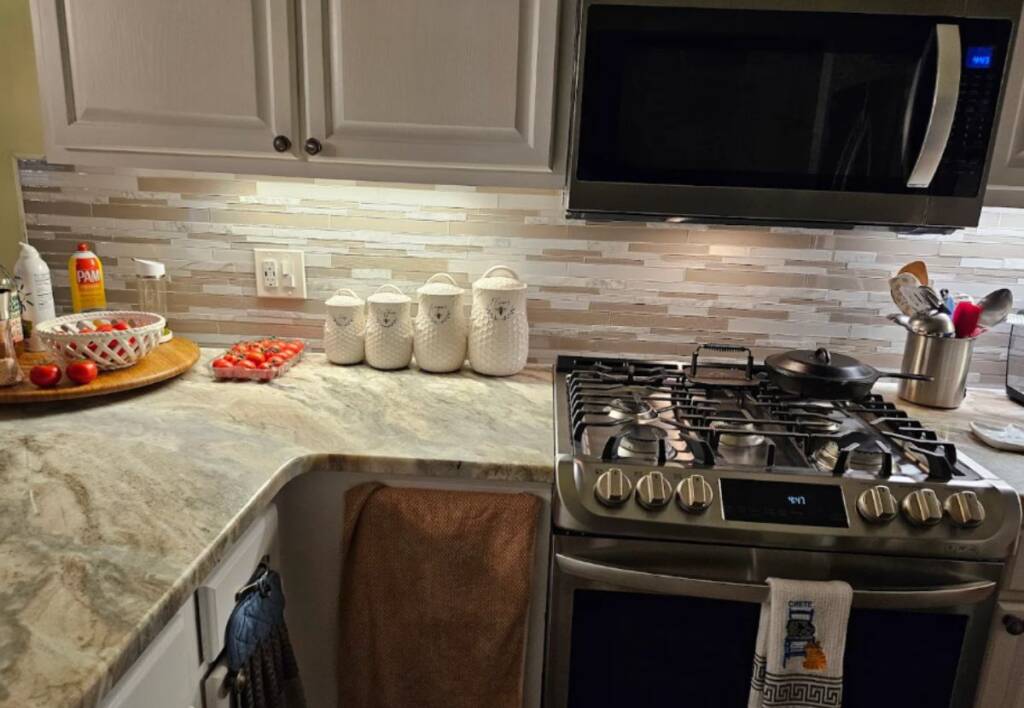
Let’s get straight to it. Kitchen Backsplash Tile Installation Cost is somewhere between $500 and $1,500 for an average-sized kitchen, say, around 20 to 30 square feet. But I’ll tell you right now: that’s just the basic range. You can go below or way above that depending on what you’re using and who’s doing the work.
The Numbers (No Sugarcoating)
Labor cost alone typically runs $40–$100 per hour, or $10–$40 per square foot, depending on your area and how complex the job is. A straightforward subway tile job in a small kitchen is one thing. A full wall in a herringbone pattern with marble tile? Different story.
Materials? Tile costs range from $3/sq ft (ceramic) to $30+/sq ft (handmade, stone, or designer stuff). Then there’s the thinset, grout, caulk, sealer, maybe backer board if your wall is out of whack. That’s not a lot of money individually, but it adds up fast when you’re doing things properly.
So, bottom line basic backsplash, installed cleanly: $800–$1,200.
High-end material with complicated install: $2,000+.
DIY? It could save you labor, but if you mess it up, you’ll double your cost fixing it. Happens all the time.
Why It Matters
Some people treat the backsplash like an afterthought “just a little tile over the stove,” right? No. It’s a water barrier, a grease shield, and a finish surface all in one. It protects the wall from daily mess and anchors the whole kitchen visually. Done right, it makes the kitchen feel finished. Done wrong, it feels cheap and half-baked.
Also, resale. Buyers notice. A sloppy backsplash screams, “cut corners.”
When to Install It
Best time to do it? After the countertops go in. Not before. We’ve seen people tile first, then realize the new counters are a quarter inch taller or lower than expected. Now the tile line’s off and you’re redoing the bottom row. Waste of time and money.
Also: if you’re doing a full kitchen remodel, save the backsplash for last. Cabinets, counters, appliances all that go in first. Then the backsplash ties it all together. It’s not a filler job it’s the final detail.
How It’s Done (Brief but Real)
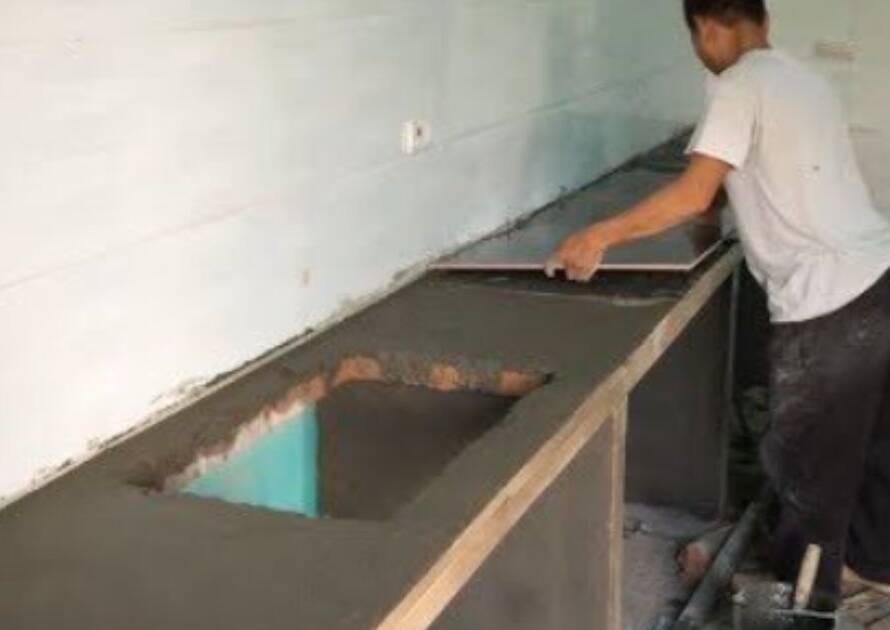
- Prep the wall.
Clean, flat, and primed. If the wall’s wavy, you fix it, or the tile will show every dip and bump. - Lay the tile.
We dry-lay tile on a table or floor first, especially for patterns or borders. Don’t eyeball it on the wall as you go. That’s how you get uneven spacing and crooked lines. - Thinset and install.
Use the right trowel size for your tile. Press them firmly. Use spacers. Clean as you go, hardened thinset in the joints is a pain later. - Grout.
Wait 24 hours. Mix it right. Apply with a float at a 45-degree angle, and pack it in. Wipe with a damp sponge, not soaking wet. - Seal (if needed).
Some tiles need sealing before and/or after grouting. Natural stone? Always seal. - Caulk the edges.
Where tile meets counter, cabinet, or wall, use silicone caulk. Not grout. Grout cracks in those joints.
Takes 1–2 days, depending on the space and drying time.
Common Mistakes (And What They Cost You)
- Wrong adhesive or grout.
People use mastic where it should be thinset, especially with glass or stone. Then tiles fall off or stain. Cost to fix? Whole thing might need to come down. - Skipping surface prep.
Uneven walls make tiles uneven. If you don’t skim coat or use backer board, you’ll end up with lippage (tiles sticking out) and shadow lines. Looks amateur. - Bad planning.
No thought to tile cuts around outlets, cabinets, or the range hood. You end up with tiny slivers of tile or awkward lines. Looks sloppy. Take 30 minutes upfront to plan the layout. - No sealing where needed.
Stone tile soaks up grease and tomato sauce if it’s not sealed. Now it’s stained forever. Good luck cleaning that.
DIY vs. Pro: Think Twice
If you’re handy and patient, DIY can work. But backsplash tiles aren’t as easy as YouTube makes it seem. Straight lines are hard, especially around outlets and corners. And if your wall isn’t perfect, it gets frustrating fast.
Also, pros have the right tools: tile saw, mixer, trowels, spacers, levels, laser line. Not cheap. Not fun to buy for one job.
And most importantly, if you mess up, the cost to fix it is usually more than if you had hired someone in the first place. We get called in to rip out DIY work pretty often. It’s avoidable.
Final Thoughts
Backsplash tile is one of those jobs that seems small but has a lot of moving parts. It’s not just sticking tile to a wall. You’ve got prep, planning, cuts, outlets, and finish details; it all shows when it’s done.
If you want it clean and professional, pay for quality work. If you want to do it yourself, don’t wing it. Know your material, plan your layout, and don’t cut corners.
And whatever you do, don’t underestimate the cost of doing it twice.
Elton
Owner, Precise Tile & Stone
Licensed & Insured in New Jersey
Call us at +19739852626 or contact us.