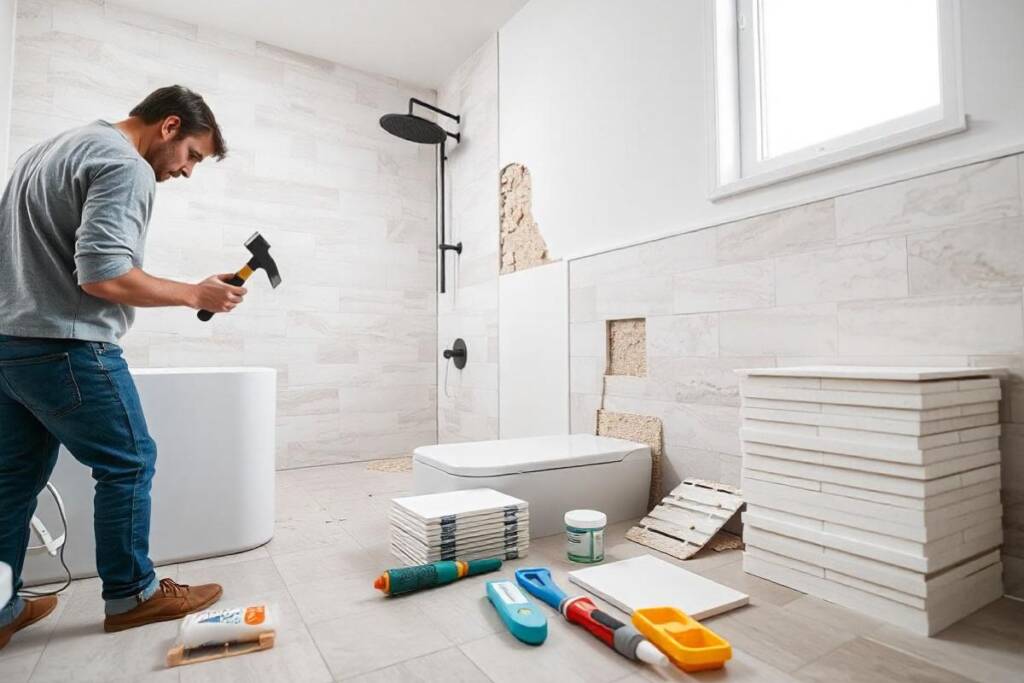
In New Jersey, Are you also fed up with cracked, broken, dirty and outdated bath tiles? If yes, here is some good news for you! Many homeowners in NJ can end up in such scenarios because if you want to transform or alter the design of their bathrooms, a lot of attention in most instances is focused on the advantages and disadvantages of utilizing wall tiles therein deliberately trying not to upset the budget. The good thing though is the idea of wanting to change a bathroom tile does indeed end up being more positive than it would have seemed before; removing a tile might take a bit longer, but once you have it off more care will be exercised and with a little more thought given to the actual retiling so it is less difficult than anticipated. Each of these boring common lamina papers can and should be enhanced and brightened in a very short time when using fantasy and a little rain and sweat.
NJ Bathroom Tile Replacement – A Step-by-Step Guide
So, the audience is made up of do-it-yourself people, let’s take a step back and make it all look nice and tidy. It is easier than it looks, and it will be just a matter of time before you will want to pick a tile cutter and start working on your design.

About The Author
Elton Suparaku, the owner of Precise Tiles & Stone, has spent 20 years developing tiling services. Since my start in the business, I’ve believed in exceeding expectations with my craftsmanship. I take the same care with intricate bathroom tile patterns and large outdoor patio jobs. I started tiling because I love making beautiful, durable environments, and that desire has only deepened. My team and I proudly assist homes and companies in New Jersey, bringing their ideas to life with accuracy. We create inspiring spaces at Precise Tiles & Stone, not just install tiles. I treat each assignment individually and want every client to adore the result. I look forward to serving New Jersey with the same dedication and high standards that have defined my career.
Gather Your Tools and Materials
First things first, you will have to put together your tile-replacing arsenal. The following will be necessary:
Safety gear ( Glass, gloves, dust mask)
Tile cutter or wet saw
Notched trowel
Grout float
Tile spacers
Hammer and chisel
Use a grout remover to eliminate extra glue that may be left over.
Tile adhesive Powder
Bond or Load
The addition of new tiles means that you do not have to put up with the old look of your bathroom floor anymore.
Grout sealer product
Got everything? Great! Let’s move on to the fun part.

Pull up the Old Tile
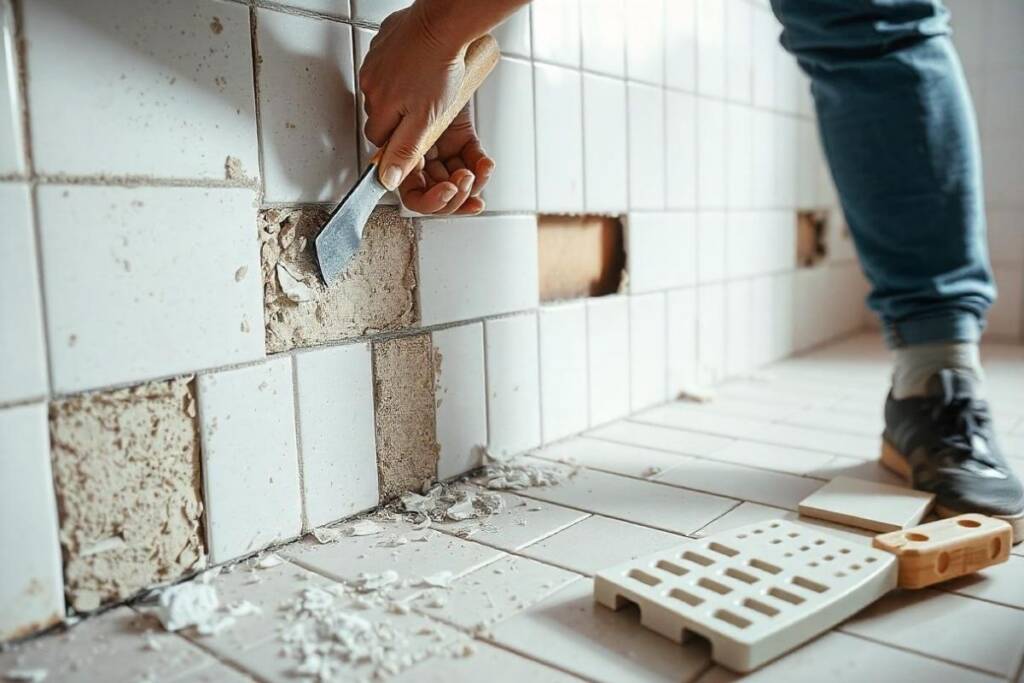
The first step is to remove any unwanted attachments or obstructions, we would also suggest the wearing of protective gloves for safety. Then, pick and chip away all the broken tile pieces that need to be replaced by carefully hammering and chiselling out refreshed spaces in those corner grout areas. You will have to work the tile back and forth for a short while to dislodge the connecting dry adhesive. When it gets saturated and has released quite a bit, then with a gentle tug, you can easily pull it off the wall or floor.
Steady the Surface
Old tiles up, ridding of the old tiles let us start and level the old surface. Remove any excess glue as much reinforcement is not needed here. Proceed to waterpaper the surface and completely level it off. This is how a bathroom reconstruction should be understood – taking off the old tiles and building completely new ones.
Plan Your Tile Layout
Take a moment to think about how you are going to order the tiles before you start throwing them around. First, draw a line with chalk down the middle of the wall or floor and lay the tiles out on paper to see how they will look. This step is very important for getting that clean and professional look that we all want.
Get the Adhesive Ready
Things are about to get messy! Put floating cement on the screen’s surface with your notched trowel. The only reason for this is to make sure the glue doesn’t dry before you can put the tiles on.
Set the Tiles
At this point, the fun really starts. Place the tiles on the glue and use spacers to make sure they are all the same distance apart. That tile is jammed right where it should be. It’s important to have nice tiles in the bathroom. Just be yourself and take your time.
Tile the Filler
As the glue was completely dry (it takes 24 hours on average), it was now the right time to grout. Get your supplies together and make grout. Then, follow the manufacturer’s instructions and use the grout float on overboard tile glue to put the grout back into the joints. There are more gaps between the tiles that need to be filled in.
Clean and Seal
Please remember that you don’t need to clean the area with the wet sponge after the grout sets in the space. After everything is dry, use a grout finish to protect your art. That’s how it is. Just a minute ago, you decorated your bathroom like you were a master at putting tiles in.
What Are the Signs That You Need to Replace a Tile?
Considering that you now know how to replace a tile, it is high time we opened up about which moments deserve the use of those skills. Replacing this tile is becoming more agreeable; when are they is the question Jason wants to know. These are some of the warning signs that a bathroom needs to be revamped: worn out or broken tiles, and an old-fashioned design.
Cracks or chips:
Where there is even a single crack in a tile that looks like an undercooked cheesecake, one will have to get tiles replaced.
Loose tiles:
Loose and wobbly tiles that wobble under your feet as you walk on them are not only ugly but may be risky as well.
Stains:
The understandable conclusion drawn is that after some time, if the stain is still on the tiles, it means it is time to replace the tile itself.
Mold or mildew:
Mold or mildew If you have some damp areas that tend to stay damp, for instance, some areas that are frequently wet from water leaks, be careful of the moisture content.
Outdated style:
Committed to nostalgia: The only disadvantage of your ceramics may be that they are tragically outdated. When your bathroom resembles a set of a sitcom from the late 1970s, chances are, it is overdue for some renovation.
Understanding the Importance of Tile Replacement
Avoid potential damage caused by water:
Damaged or chipped tiles would help to maximize the moisture content in the walls and floor structures eventually causing expensive renovations.
Enhance safety:
Someone can easily trip over a tile that has a crack or a chip on its surface. With the process, it means that you and your family are not exposed to danger arising from the worn-out tiles.
Promote cleanliness:
Fractured tiles and grout lines are filled with germs and fungus, which are not hygienic and would make your bathroom look more like a petri dish.
Raise home market value:
Revamping the bathroom offers a drastic increase in the market price for the resale of your house.
Benefits of Replacing Damaged Tiles
Still, wondering why you should bother to replace any of those tiles? Let me sweeten the deal with some additional benefits:
Energy efficiency:
New tiles can help in controlling the room temperature especially when done together with the proper insulation which means that your choice of tile can even affect your energy bills.
Customization:
Changing out tiles allows one to put in their personal touch and decorate the house of pee which they have had in their imaginations.
Easier cleaning:
New tiles and grout after a seal will certainly mean that cleaning will be less cumbersome than cleaning old worn-surfaced grout and tiles.
Improved waterproofing:
New efficient tiles along with new processes add another level of waterproofing to the older waterproofing materials and techniques.
Increased durability:
Another good aspect of bathroom tiles these days is that they cheaply provide you with quality hence your newly remodeled bathroom will last for quite some time.
What Common Mistakes Should You Avoid When Replacing Bathroom Tiles?
Let’s take it easy for a moment because I know I’ve got you ready about replacing your tiles. Listed below are some errors that should be avoided:
Skimping on preparation:
Surface preparation is very important mostly for the tiles that are to be mounted on the surface. If however, you try to hurry through this step, even when you finish without cracking your tiles, it is likely they will be lumpy.
Disregarding waterproofing:
Waterproofing is especially important for areas prone to water ingress, such as showers. Do not skip this step again ever.
Using the wrong adhesive:
Glue for different products come in vast quantities. Make sure you are using the right adhesive especially – on the shower wall that is good for your specific Tiles.
Forgetting to plan the layout:
As I have said while dry-laying tiles, you need to have a plan. It is a pain deleting this step of a shower where you’re close to finishing the room otherwise you will get funny chisels or an odd cupboard.
Overusing the glue:
This is not the right time to be overly generous with the glue, which is invariably the case anyway. But the amount does not ensure that not too much dry powder adhesive will ooze between the tiles when they’re laid as quite a lot between them.
Being in a hurry:
This is no contest to see who can replace the tiles the fastest. Just don’t rush through and over-extend one measurement. However, I suggest making the frames slow and make sure the top sides are vertical and push the distance between 24 away from them.
Neglecting to seal the grout:
If grout is left unsealed, it will attract moisture and stain. Whichever option you choose, make sure that you cover your grout because all the effort you put into your work that all is not for nothing.
Frequently Asked Questions for how to replace bathroom tiles
Can you just replace the tiles in your bathroom?
Of course! You can replace single tiles which are damaged or you can have a complete change of the bathroom. It is your preference.
Can I change the bathroom tile with an installed toilet?
Well, it’s quite possible to do so, although not very practical. So is taking out the toilet. In such cases, you will be able to do a much cleaner and more professional job. It is also a good chance to inspect and change the wax ring if necessary.
Need Professional Help? Get in Touch With us
Address – 11 E Main St, Little Falls, NJ 07424, United States
Phone- +19739852626